
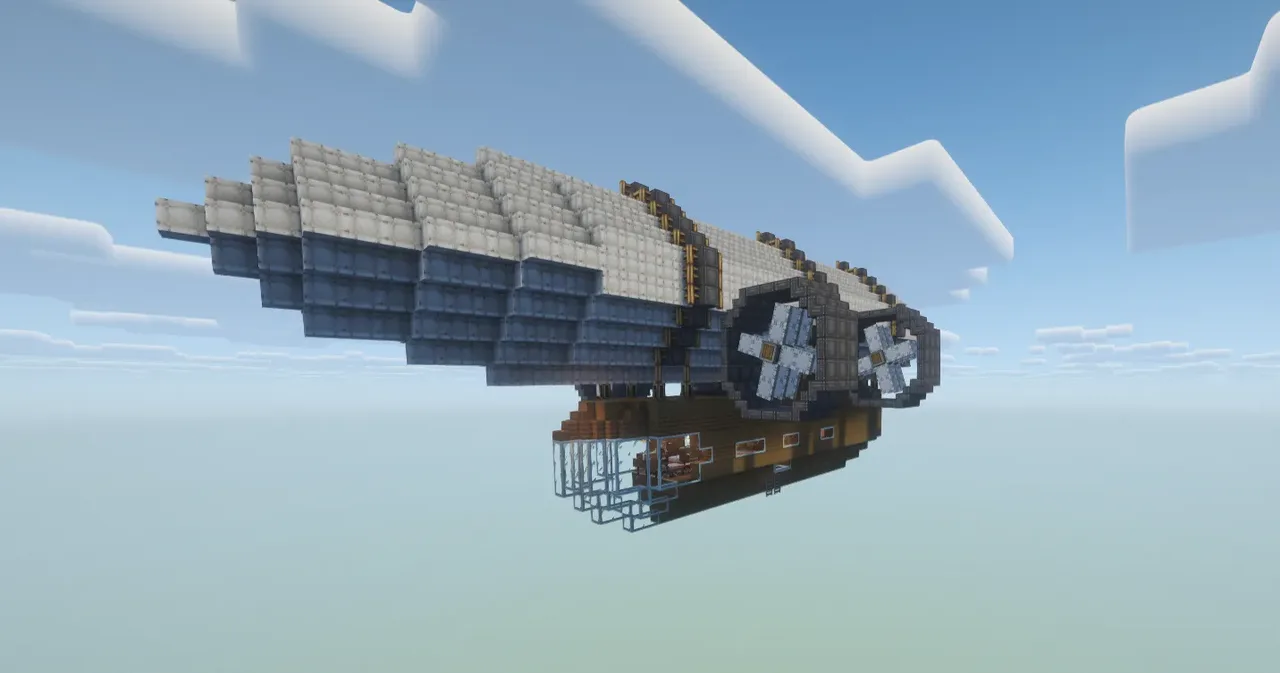
| Creator | Franek20110610 |
|---|---|
| Category | Vehicles & Contraptions |
| Size | 25 × 22 × 58 blocks |
| Blocks | 3,164 |
| Minecraft | 1.21.X |
| Create | 6.0.10 |
| Mods | Createaddition, Farmersdelight, Aeronautics, Copycats, Simulated, Create connected, Create |
| Downloads | 623 |
| Added | 2026-07-18 |
Schematic by Franek20110610, published on CreateMod.com. This page lists what it contains; download the file from the creator’s page.
Ultimate Steampunk Airship (Create: Aeronautics)
A fully functional, powerful airship designed for long-distance travel and world exploration. This vessel perfectly combines classic steampunk aesthetics with the flight physics of Create: Aeronautics, power systems from Create Crafts & Additions, and control setups via Create Simulated.
FEATURES & TECHNICAL SPECIFICATIONS:
- Incredible flight time: After being fully fueled, the airship can fly continuously for about 6 hours!
- Flight altitude: The airship ascends to a maximum altitude of around 225 blocks on average.
- Steam powered: Driven by two massive Steam Engines, each measuring 3x3x5 blocks, located in the ceiling above the carpet area.
- Navigation and control: Steering is handled by 4 lateral turbines that provide complete control over the flight direction.
- Water system: Easy access to the water supply layout is located inside the vessel, on the right wall (when looking from the front of the airship).
- Electric lighting: The entire interior and deck are fully illuminated with modern electric light bulbs (Create Crafts & Additions system).
HOW TO START & WIRE CONNECTION (ACCORDING TO IN-GAME SIGNS):
[ BEFORE START ]
1. Check if the ceiling Steam Engines loaded properly and ensure that the shafts connected underneath them haven't been broken or detached.
2. Check if all other blocks loaded correctly.
3. Check if all pipes are properly connected.
4. Check if all tanks are properly connected.
5. Before taking off, ensure the internal water system on the right wall is fully supplied.
[ ELECTRICAL SETUP / WIRING ]
6. Under the carpet near the crafting table, there is a large battery charging connector – you need to connect it with wires to the Alternator (there is a sign next to the floor port that reads "Connect to the port under the carpet").
7. Connect all the light bulbs together with wires in whatever sequence or order you prefer.
8. Connect one of the light bulbs directly to the large connector located under the cabinet (there is a sign next to it to guide you).
9. WIRING NOTE: Exactly 11 wires from the Electrum Wire Spool were used for the entire setup. I have not tested whether the circuit operates correctly with other types of wires, such as gold or copper!
[ FUEL TANKS & BLAZE BURNERS ]
10. Fill the rear tanks with lava using one of the available methods:
- Outside: Use the 4 connectors for pipes at the back. NOTE: This standard method only works when the airship is docked with its physics DISABLED. Once physics are active mid-flight, standard external pipes will not align or connect to the world block grid automatically.
- Flexible Refueling (Recommended with VS / Sable Hose Connectors): To refuel comfortably, a docking station is built on the ground. You must remove the old Portable Fluid Interface and replace it with standard pipes. Only then, place a Hose Connector block on the ship and another on the ground, and connect them with a Wrench by right-clicking. I will update the schematic soon so that everything is fully set up on the vehicle by default!
- Inside: Pour lava manually into the rear tanks as a manual backup method.
11. At the spot marked "Load 1 Bucket", make sure the Mechanical Arm has access to a bucket – it requires it to automatically fetch and feed fuel to the Blaze Burners powering the boilers.
[ IGNITION & ENGINE LOGIC ]
12. The system is activated by putting exactly 1 piece of coal into each of the 2 starters (Red Portable Engine).
13. CRITICAL NOTE: If you load more than 1 piece of coal, you will have to wait significantly longer for the startup sequence to finish! This happens because while the starter is active, the shafts rotate at a speed of only 32. However, the steam engines need to reach their target speed of 120 to fully take over and run independently – a prolonged starter duration simply limits and delays their spin-up.
14. With a correct startup, the engine requires about 2 minutes to fully warm up and reach maximum power.
[ COCKPIT & LEVER CONTROLS ]
- Control Board (Linked Typewriter): Used for lateral steering. Pressing "A" turns the ship left, while pressing "D" turns it right (these are the only functional keys bound on the typewriter).
- Lever next to the bed: Features inverted logic! When turned OFF, it activates and turns on the main engines via a Redstone Link signal.
- Lever on the RIGHT side of the pilot seat: Reverses the rotation of the engines (reverse gear / flying backward).
- Large lever on the LEFT side of the pilot seat (Altitude Control): Controls the balloon heating system to precisely manage the airship's altitude using analog signal strength. Below is the chart mapping signal strength to block height:
Analog strength *15** -> Altitude approx. 225 blocks (Maximum height)
Analog strength *14** -> Altitude approx. 206 blocks
Analog strength *13** -> Altitude approx. 187 blocks
Analog strength *12** -> Altitude approx. 167 blocks
Analog strength *11** -> Altitude approx. 145 blocks
Analog strength *10** -> Altitude approx. 121 blocks
Analog strength *9** -> Altitude approx. 95 blocks
Analog strength *8** -> Altitude approx. 65 blocks
Analog strength *7** -> Altitude approx. 32 blocks
Analog strength *6** -> Altitude approx. -5 blocks
Analog strength *5** -> Full landing (Drops down to the bottom of the world / approx. -60)
- Once assembled using Aeronautics tools and waiting for the steam engines to reach full power, the lateral turbines will activate. Make sure the Pilot Seat is properly bound.
IMPORTANT NOTES & KNOWN ISSUES (SCHEMATIC & PHYSICS BUGS):
- Breaking shafts under engines: For some reason, when pasting the schematic or assembling/disassembling the ship, the drive shafts connected under the ceiling Steam Engines tend to break and drop. Always verify their presence before launching!
- Bugs after disabling physics: Every time you disassemble the airship (turning it back from a flying contraption into normal blocks), wire connections, fluid pipes, and other mechanical parts frequently glitch and break down.
- Mechanical Arm issue: After pasting the schematic or disassembling the ship, the Mechanical Arm feeding buckets to the Blaze Burners usually loses its targets. You will often need to break it, replace it, and manually re-assign what to take and where to put it.
- Texture loss: Sometimes after pasting the schematic, Copycat Blocks might lose their textures or mechanical links may misalign. This is a known rendering bug. Simply update the block (right-click it with a Wrench) or replace it manually before assembling the vehicle!
and 24 more block types
 altilery canon34 blocks · Otsojavaja
 Pirate Ship Functional2,982 blocks · Zailot2k
 Survival Helicopter177 blocks · Mrpaper
![Field artillery [with auto reaload]](/a/0d/0db19b48d6f0874.webp) Field artillery [with auto reaload]51 blocks · Maxand
Field artillery [with auto reaload]51 blocks · Maxand Heavy Armored Railway Cannon - Schwerer Gustav5,692 blocks · Quangvinh327_30223
 Hovercraft "Dolphin"248 blocks · Spork_19546
 F8e Crusader Fighter aircraft301 blocks · Loulou B
 Tiger 1 Tank279 blocks · Flamy9949
 B1 Lancer Strategic Bomber1,579 blocks · Loulou B
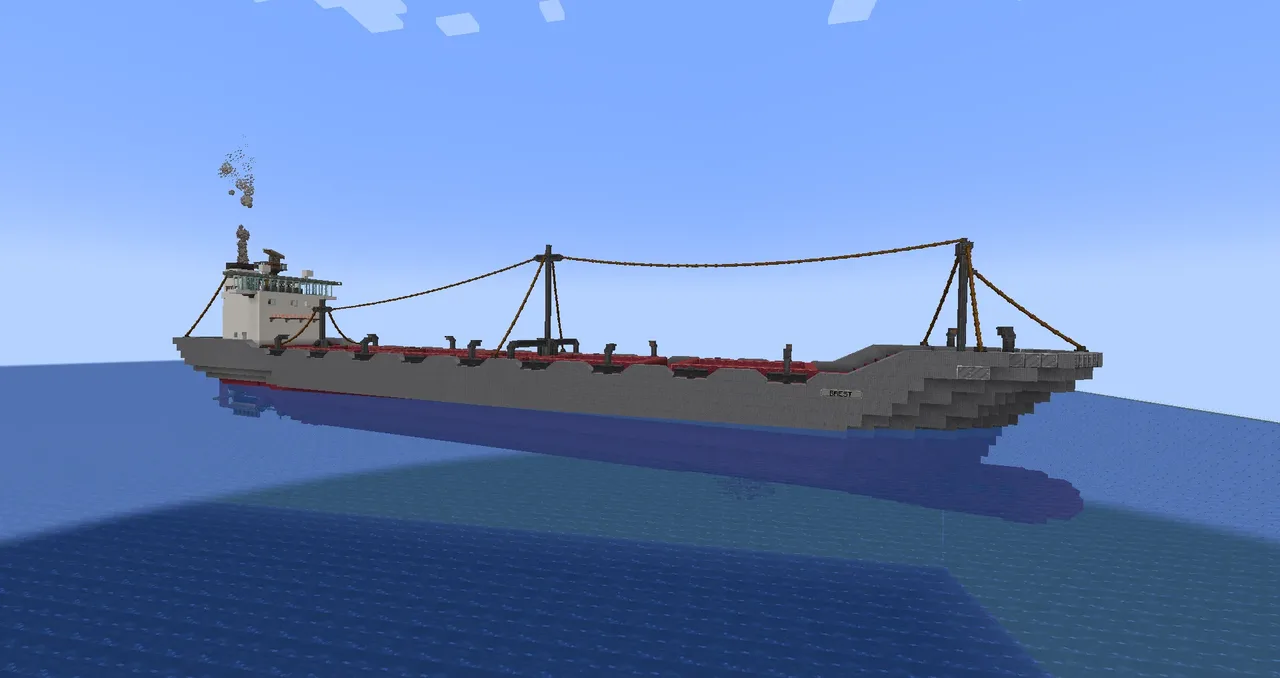 Cargoship "Brest" Class7,663 blocks · Loulou B
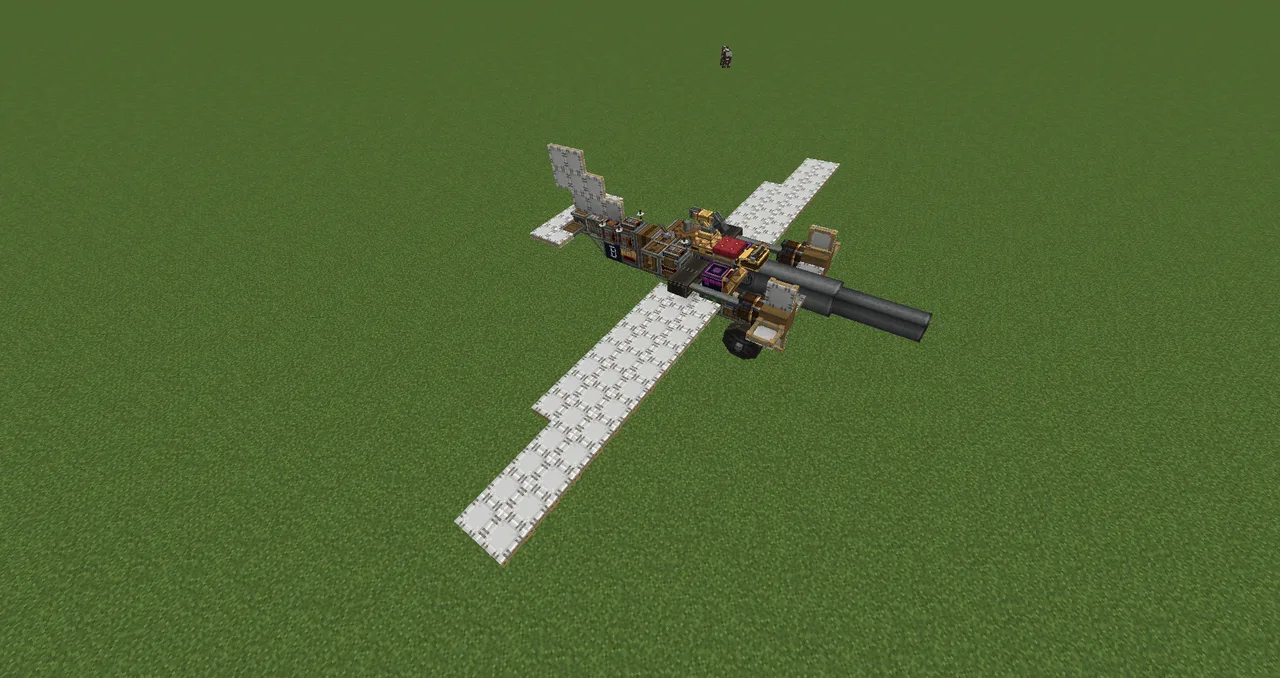 Mosquito Plane249 blocks · Loulou B
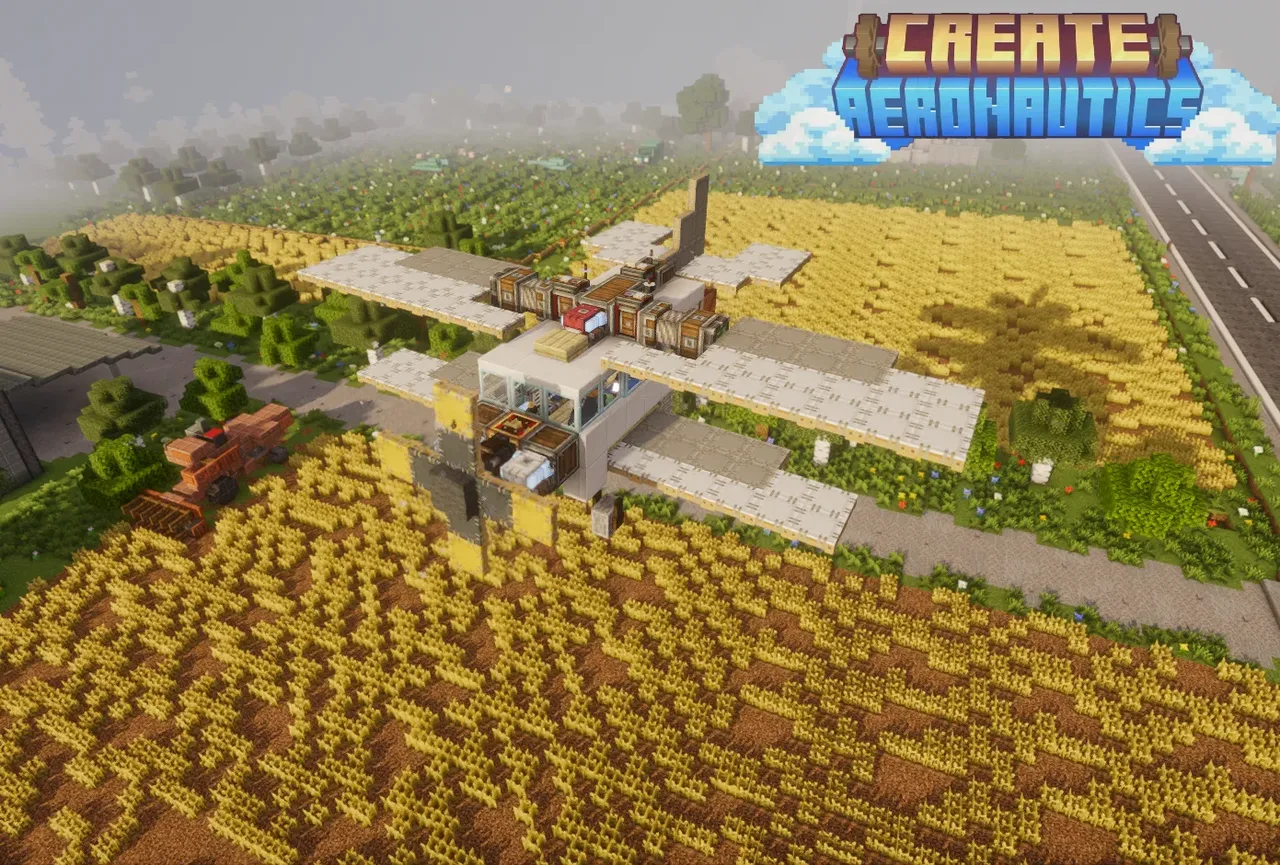 Biplane An-2232 blocks · Danya15243